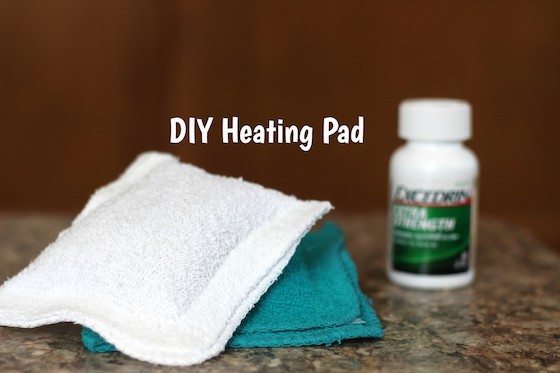
How To Make A No-Sew DIY Heating Pad
Last Updated on September 30, 2022 by Janell
This shop, What's In My Travel Bag? Plus How To Make A No-Sew DIY Heating Pad, has been compensated by Collective Bias, Inc. and its advertiser. All opinions are mine alone.
I have had the opportunity to travel a few times on press trips. They are so much fun! I get to experience some pretty amazing things and I get to meet up with people that I have known for many years online that I finally get to meet in person.

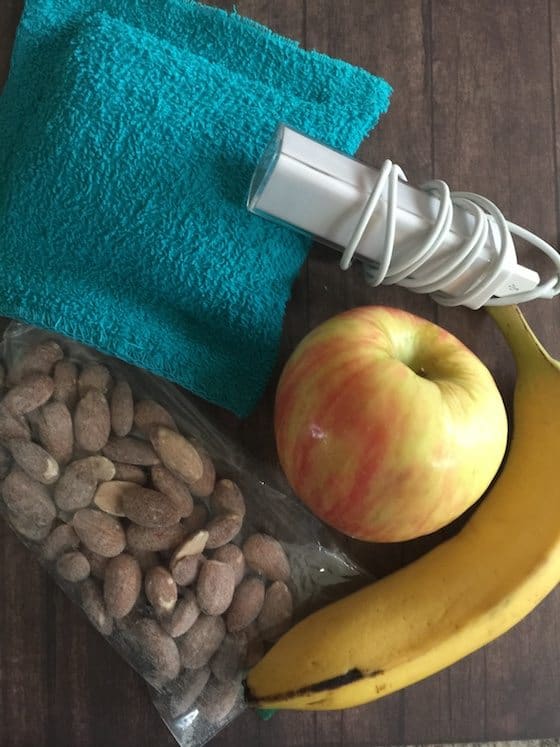
During my travels, I have learned a few things that I should always have in my bag. The night before each trip I head to Walmart and make sure I have headache medicine - because I get really bad headaches and sometimes migraines, snacks, and a portable battery charger for my cell phone.
On most of my trips, I have to get up early and travel from Kentucky to Los Angeles. I am not going to let a headache keep me from having fun so it is essential.
I don't have time for headaches when I am traveling, once I land, I get picked up, brought to the hotel, get dinner, and then head to an event. A bad headache would really make it pretty miserable for me.
I would miss the fun events and hanging out with my friends.

Sometimes I like to put a warm heating pad on my head after I take some medicine. It's a handy little thing that I can use for my headache and sore muscles. It will take you about 5 minutes to make!
I have become pretty good at making things with hem tape, and this is another way to use it. Hem tape is pretty amazing.
You put it between 2 pieces of fabric and heat it with a flat iron or regular iron and it seals the seams. I think most people use it to hem their pants or skirts, but I use it for my DIY projects.
DIY (No Sew) Heating Pad:
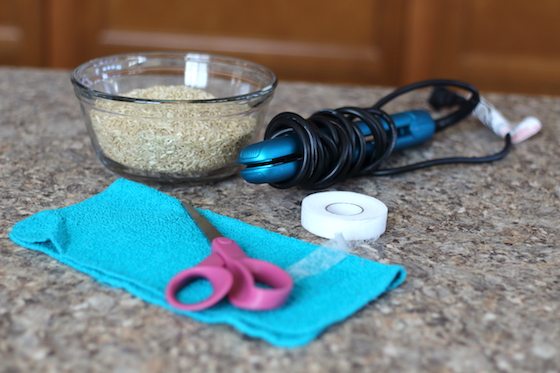
Supplies:
- Wash Cloth
- Hem Tape
- Uncooked Rice
- Scissors
- Flat Iron/Iron
Instructions:
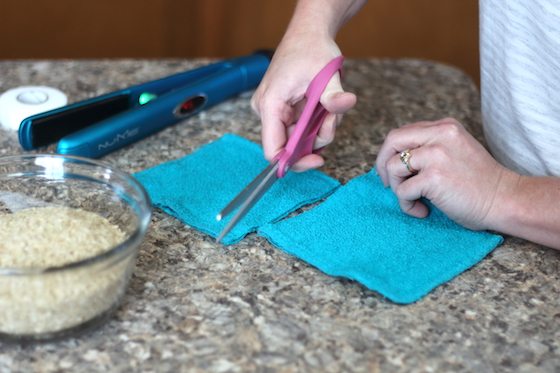
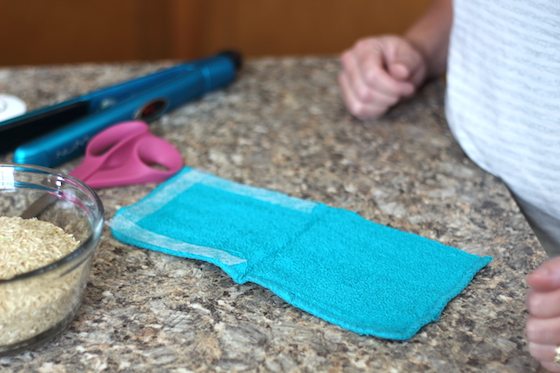
Fold the washcloth in half. Then cut the washcloth in half, and you can make 2 heating pads.
Before you open the washcloth, measure the hem tape. Open the washcloth and put the hem tape on the sides and fold it over.
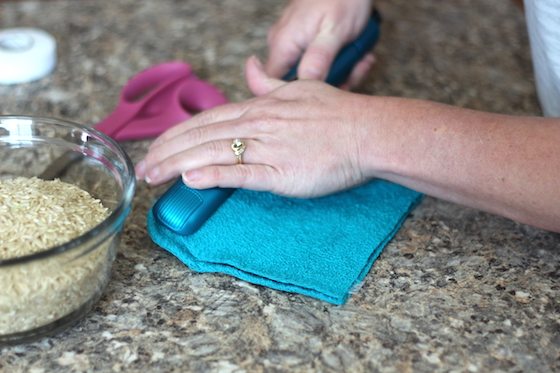
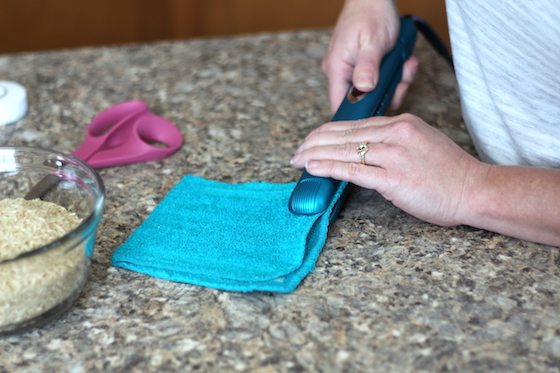
With your flat iron, seal the 2 side edges with the flat iron. Only seal the top about half way. This will keep the hem tape in place while you fill it with rice.
Using a measuring cup or funnel, fill it with rice. (I used about ¾ cup of rice to fill it.)

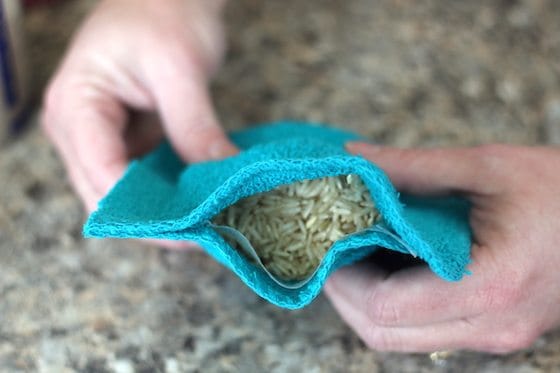
Seal the top completely with the flat iron.
When you need to use it, place it in the microwave for 30 seconds and then 15-second increments until it is warm. (Be careful not to overheat it.)
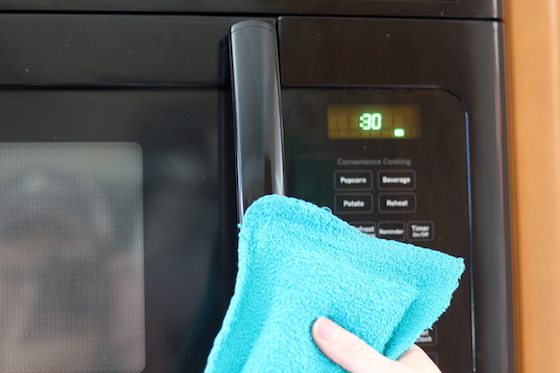
It's small and compact so I can bring it with me when I travel. And most hotels have a microwave so you can heat it when you need it.
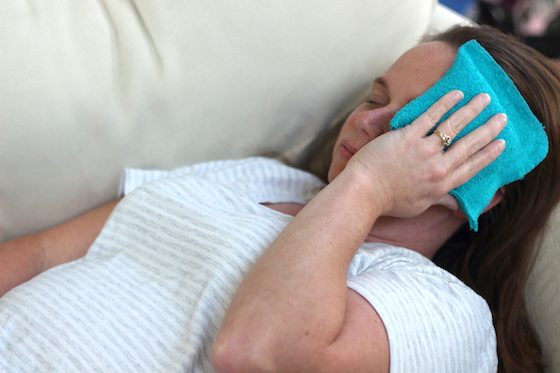
Having a few of these heating pads handy when I get a headache really helps when I take migraine medicine and take some time to rest with the heating pad on my head.


What a clever and simple idea. I definitely need to try making this, I get headaches quite a lot unfortunately. {client}
That heating pad is a great idea. I think I need to make myself one of those.
I love this heating pad! I get terrible migraines at times, and it always seems to be when I'm on the road. This is great!
OMG, I love you so much right now. I suffer from chronic headaches, and this would be so great for me, especially on trips.
I always have Excedrin in my travel bag. I am prone to headaches, especially after sitting in the car for a long time.
Why I think I was on an LA trip with you! And I would have come knocking for Excedrin, it is one of my favorite pain relievers! PS I love the picture of you with that amazing heat compress!
15 minute relief is fast! I'll definitely have to grab some Excederine for my travel bag. I always get a headache when flying.
This DIY heating pad looks easy to make! I love that it's small and I can easily slip it into my bag. Thanks for the tips!
Excedrin does work really good for headaches. We always have it in stock at home. I love the idea of a DIY heating pad. This is better than the store bought ones! I can also use it to relax tired achy muscles.
Excedrin is my go-to headache medicine and I never travel without it. Their migraine formula has saved me on countless occasions as well.
Wow, you are quite a traveler - Kentucky to LA is quite a haul.
I get migraine headaches that are just horrendous; Excedrin tends to be helpful at managing them.
I like your design for a heat-pad!
My mother always had a lot of success with rice heating pads, but they can be pricey. This is a great craft to save a lot of money.
Wow, what a great little DIY heating pad!! Looks so easy to make. I often get headaches when I travel so these tips are so welcome.
The heatpad is amazing. i never knew it was that easy to do thath/
That heating pad is incredibly clever. A little heat is perfect to help relax a headache.
I love your DIY heating pad idea! I'm going to have to make a few of these for myself for traveling! Thank you so much for sharing!
can you also use it as a ice bag?
Yes! Just put it in the freezer and it should stay cool for a little bit.