
How to Make Custom T-Shirts at Home Without Spending a Fortune
Last Updated on September 14, 2026 by Janell
Making your own custom T-shirts can be a lot of fun, and you definitely don’t need to spend a fortune to do it. They’re great for birthday parties, family vacations, reunions, sports teams, gifts, or even just making something fun for yourself.
There are also a lot more options now than there used to be. You can keep it really simple with fabric markers, use iron-on transfers or vinyl, or order a ready-to-press design and apply it yourself.
The best option really depends on how many shirts you’re making, how detailed you want the design to be, and how much equipment you already have.
Choose the Best Way to Make Your Custom T-Shirt
Before you buy anything, decide how you want to put your design on the shirt. Some methods are much cheaper to get started with than others.
Iron-On Transfer Paper
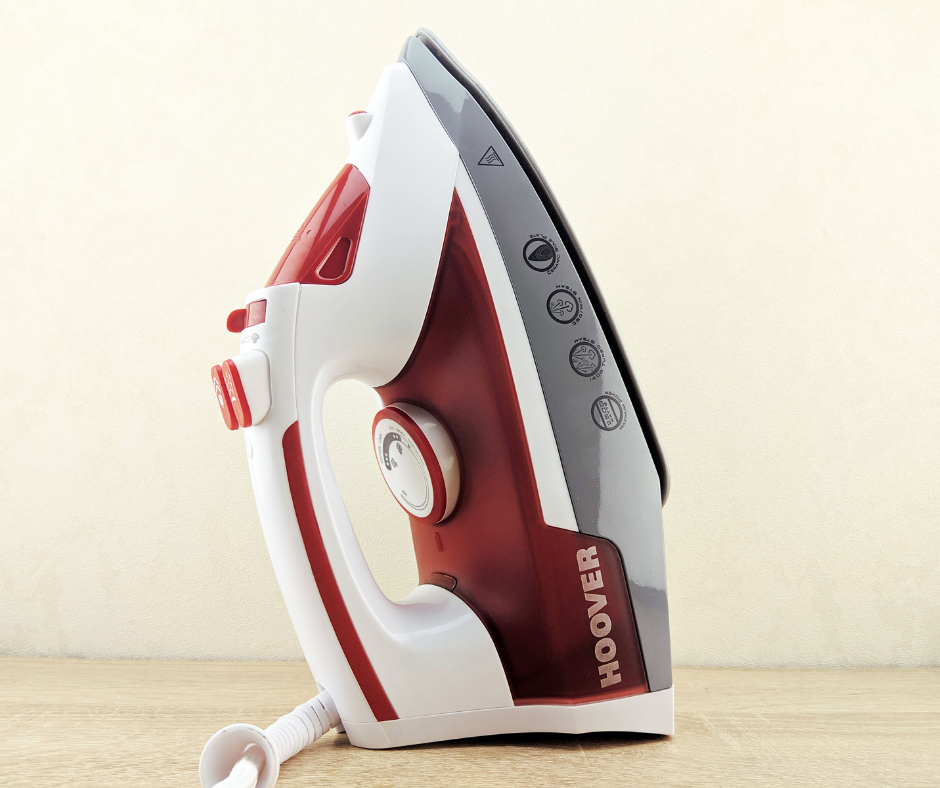
Iron-on transfer paper is probably one of the easiest ways to start. You can print a design using a compatible home printer, cut around the image, and transfer it to your shirt with heat.
This can be a good choice if you only need one or two shirts and don’t want to buy a bunch of equipment.
Just make sure you buy transfer paper that works with your printer and the color of your shirt. Some transfer papers are made for light fabrics while others are specifically for dark fabrics.
Heat-Transfer Vinyl
Heat-transfer vinyl, or HTV, is another popular option. It works really well for names, numbers, words, and simple designs.
You will need a machine that can cut the vinyl, so this makes the most sense if you already have something like a Cricut or another cutting machine.
The more colors you add, the more work it becomes because each layer needs to be cut, positioned, and pressed separately.
DTF Transfers
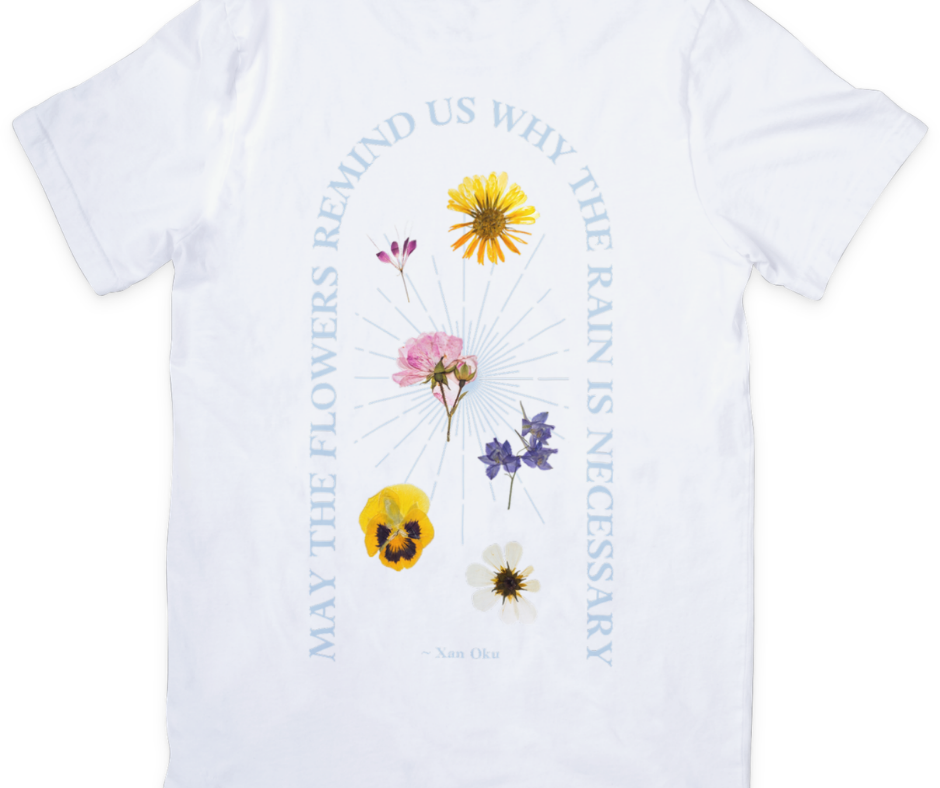
If you want a more detailed or colorful design without buying a printer or a lot of equipment, DTF transfers can make the process much easier.
Your design is printed onto a special film and arrives ready for you to press onto the shirt. This means you can create more detailed designs without cutting and layering several colors of vinyl.
You can order ready-to-press designs from DTF Transfers Now and then apply them at home.
I especially like this option if you are making several shirts with the same design because you don’t have to cut, weed, and layer each individual design yourself.
Don't Forget the Really Simple Options
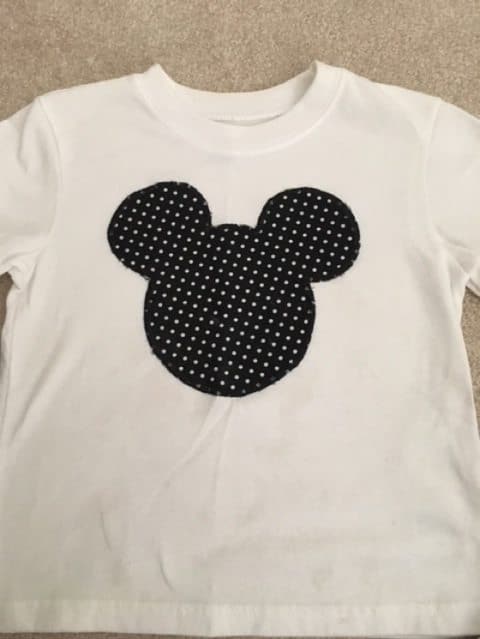
You don't always need transfers or vinyl.
Years ago, we made our own DIY Disney Shirts using inexpensive shirts, fabric markers, stencils, fabric paint, and a few other craft supplies.
They were fun to make, the kids could help, and we didn't need any expensive equipment.
So before buying a bunch of supplies, think about how complicated your design really needs to be.
Save Money on Blank T-Shirts
You don't need expensive shirts to make a nice custom T-shirt.
If I know I have a project coming up, I like to watch for sales and clearance deals. Craft stores, Walmart, and other retailers often have inexpensive blank shirts, especially when you aren't picky about the exact brand.
If you're making shirts for a group, compare multipacks and bulk pricing too.
But I wouldn't buy 10 or 20 shirts until you've made one test shirt.
Make sure you like the fit, color, and fabric and that your transfer method works well on it first. Ruining one inexpensive shirt is much better than ruining an entire stack of them.
Also check the fabric content before you buy. Different transfers have different heat requirements, so always make sure your shirt is compatible with the product you're using.
Keep Your T-Shirt Design Simple
This is one of those projects where it's very easy to keep adding things to the design.
Another font. Another graphic. Another color.
Before you know it, the shirt is way too busy.
Usually, a simple design looks better anyway.
For a family vacation shirt, you may only need the destination, year, and a small graphic. For a birthday shirt, a name or short phrase with one main image may be enough.
Before you print or order anything, double-check the spelling. Then check it again!
You should also look closely at spacing, image quality, and any really small details that may not transfer well.
One easy trick is to print the design on regular printer paper at the actual size you plan to use. Lay it on the shirt before you order or print the final transfer.
Something that looks like the right size on your computer screen can look completely different once it's on a shirt.
Make Sure Your Design Is Straight
Placement makes a huge difference. You can eyeball it, but this is one inexpensive tool that can make the process much easier.
A T-shirt ruler helps you center the design and figure out how far it should sit below the neckline.
This is especially helpful if you're making several matching shirts because you want the design to be in roughly the same place on every shirt.
Even without a ruler, take a minute to measure before you apply the design. Once you press it, there's usually no easy way to move it!
Use What You Already Have
It's easy for a cheap DIY project to suddenly become expensive because you keep buying new tools.
Before you order anything, figure out exactly what your method requires.
Some transfers can be applied with a household iron. Others need the consistent heat and pressure you get from a heat press.
Always follow the instructions that come with your transfer because the correct temperature, pressure, pressing time, and cooling time can vary.
You may already have many of the other things you need, such as scissors, a ruler, printer paper, and a sturdy work surface.
If you start making shirts regularly, buying a heat press may eventually be worth the investment. But if you're making shirts for one birthday party or family vacation, you may not need to buy one.
Always Make a Test Shirt
This is probably the best way to save money. Test everything before you make the shirt you actually care about.
If you have an old shirt made from a similar fabric, use it to practice. You can test the heat, pressure, size, and placement before using your good shirt.
It's also important to follow the instructions about when to peel the transfer. Some products need to cool completely, while others are peeled while they're still warm.
The washing instructions matter too. Waiting the recommended amount of time before washing and turning the shirt inside out can help your design last longer.
You Don't Have to Spend a Lot to Make Custom Shirts
Making custom T-shirts at home can actually be pretty inexpensive, especially if you're only buying the supplies you really need.
Start with affordable shirts, keep your design simple, and choose a method that makes sense for how many shirts you're making.
You also don't need expensive equipment to personalize gifts at home. If you enjoy projects like this, check out my beginner's guide to making DIY custom gifts with engraving for even more ideas.
Whether you use fabric markers, HTV, iron-on paper, or ready-to-press transfers, make one test project first.
Once you figure out which method works best for you, you'll probably start thinking of all kinds of things you can personalize!