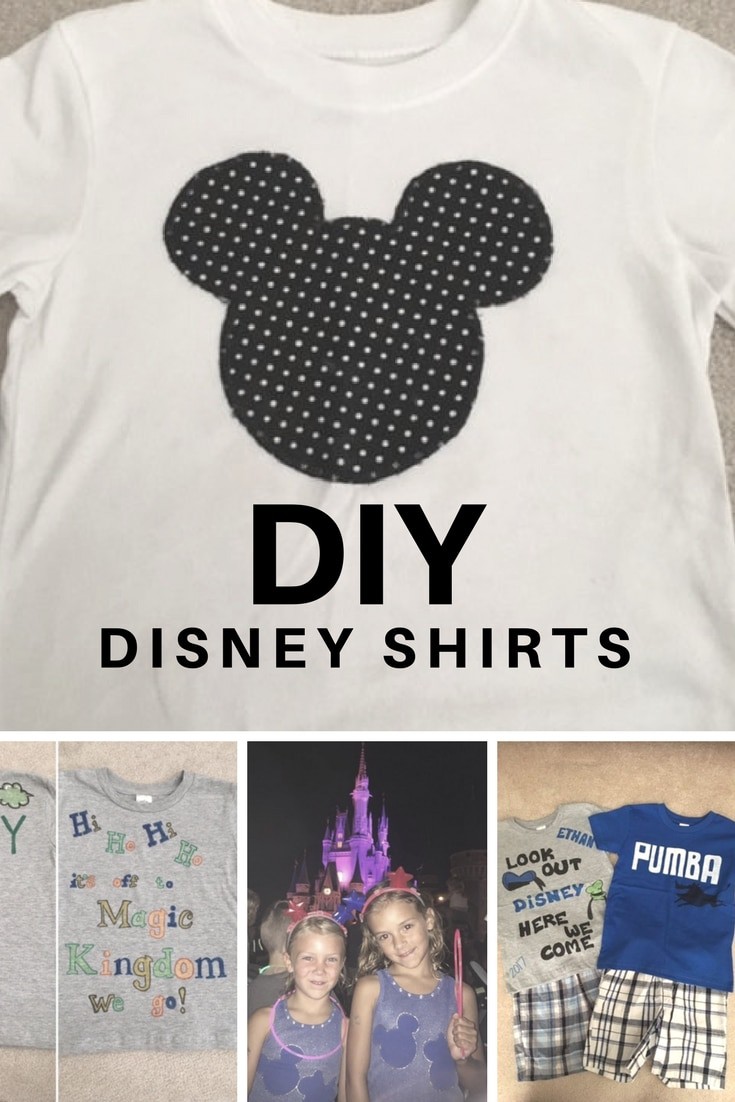
DIY Disney Shirts
Last Updated on March 2, 2023 by Janell
DIY Adorable Disney Shirts
Misty is a Disney Travel Planner! Send me an email at SavingYouDinero@gmail.com and she can help you plan a memorable and affordable Disney Vacation! She's an expert!
My family loves Disney and we love taking trips with family and showing them all Disney has to offer. We find ways to make the trips more affordable, which I will cover more in other posts, but one way is by creating our own Disney shirts! It is a fun way to add magic to the planning process and get together with family and friends who may be going too. My kids also get in on the fun and help decide what we are going to do with our shirts.
I will go over 6 different shirt ideas in this post that you can recreate. Some are as simple as using some cutouts and fabric spray, and one requires a little sewing. Let’s get started!
Buying the shirts to design is my first goal. I start way in advance and look for deals. I snagged the shirts in this post at Hobby Lobby, Micheals, and Wal-Mart. I used 40% off coupons at Hobby Lobby, waited for Micheals to run a sell on their shirts and combined it with a 20% off 'entire purchase'coupon, and found the tanks on clearance at Walmart. Once we had the shirts it was time to get crafty!
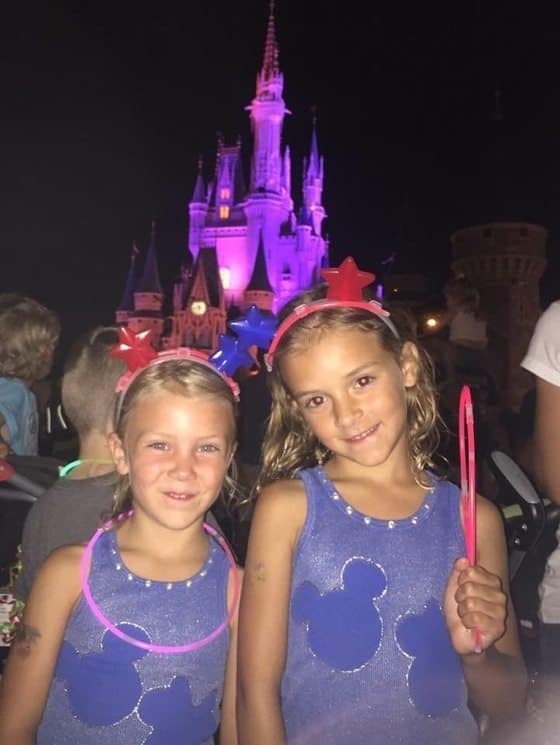
Sparkling Minnie and Mickey Shirt
I began with the tanks. Here is a list of supplies:
* Tulips color shot fabric spray in silver
* Scribbles 3-D fabric paint
* E-6000 fabric glue
* Acrylic stones by Bead Designs
* Felt cutouts of Mickey and Minnie heads (I found these at JoAnn’s but you can make your own using stiff felt)
Instructions:
I laid the shirts on a flat piece of cardboard, placed the Mickey and Minnie heads on the shirt and sprayed the silver fabric spray in a nice even coat.
I let the shirts dry and sprayed again. Once the shirt was dry, I removed the felt heads. I loved the contrast!
I wanted to dazzle the shirt a little more and make the Minnie and Mickey more defined. I chose to add the stones with the E-6000
Glue on the collar and outline the Mickey and Minnie with the 3-D fabric paint.
I absolutely loved the simplicity of this shirt and the way the silver sparkled in the light.
PUMBA, Hi Ho, Hi Ho It’s Off to Magic Kingdom We Go, Look Out Disney, Here We Come And Hakuna Matata Shirts:
The next four shirts I am going to show you required some creative slogans and the use of some popular ones. Here are the supplies:
*Tulip Fabric Markers, multi-colored pack and a white (sold seperate)
*Letter Stencils, one of them was a Marhta Steward stencil that included
some added decorative designs.
*Animal stencils
*3-D Fabric Paint in Gold Glitter
* Spool of Ribbon
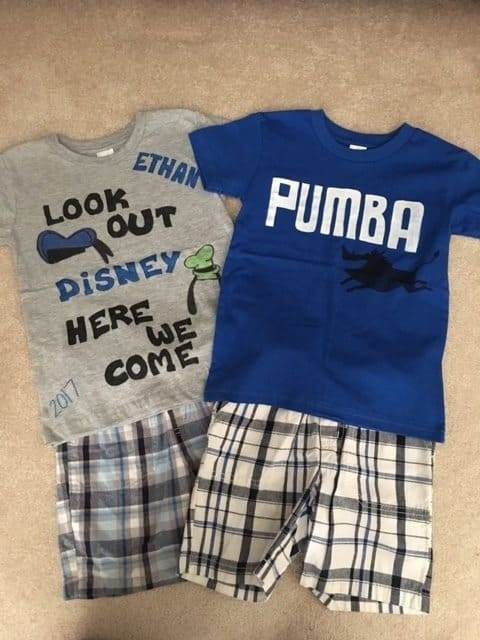
PUMBA:
The Pumba Shirt required some help from the Internet. We found a picture we liked of Pumba. You can print out the picture, cut it out and trace it on the shirt (or if you have a talented sister, she free hands it on the shirt!) Either way works fine! We used the black Tulip fabric marker and then bought a white fabric marker for the PUMBA. Use a pencil first to trace the letters and the word. Then go over it with the markers.
Hi Ho and Look Out Disney:
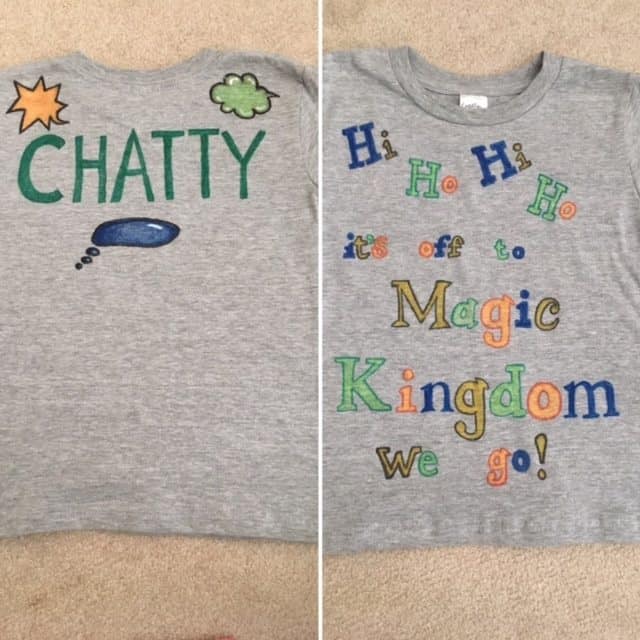
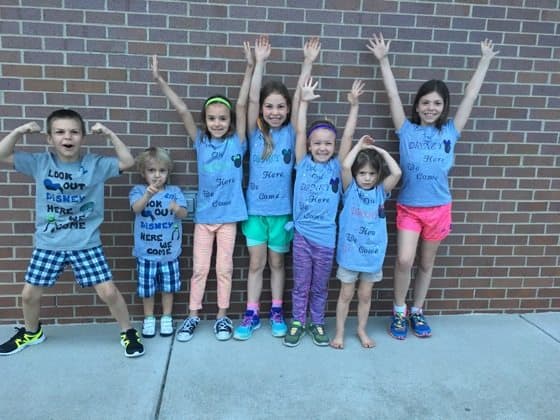
For both of these shirts we used letter stencils from Michels. We picked out two different stencils we liked and used the letters and the designs to create these two fun shirts. Spacing is the hardest part of making these shirts. We wanted the shirts to be filled with color so we spaced out the words and did a rough draft before actually using the fabric markers to color in the letters.
We added the acrylic stones and some 3-D fabric paint to jazz up the “Look out Disney “ shirts. The kids chose the colors they wanted to use on these and ended up matching each one to the Magic Bands they had chosen.
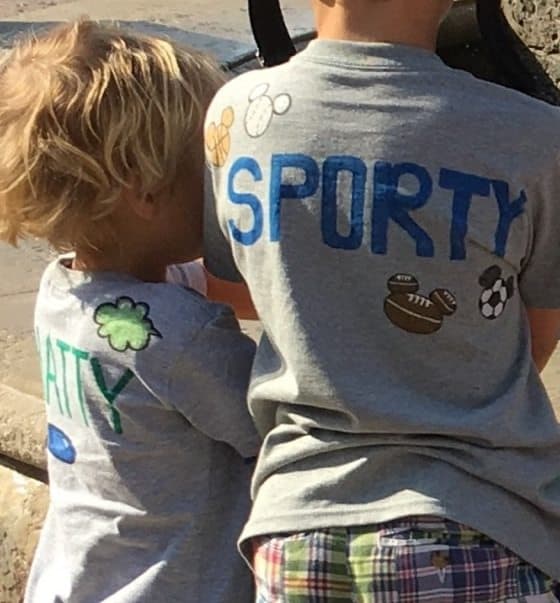
For the boys shirts, we used the same idea we used in the PUMBA shirt to add some fun and fill in space. We found a picture of Donald’s hat and Goofy’s hat on the internet and created a stencil to then transfer onto the shirts.
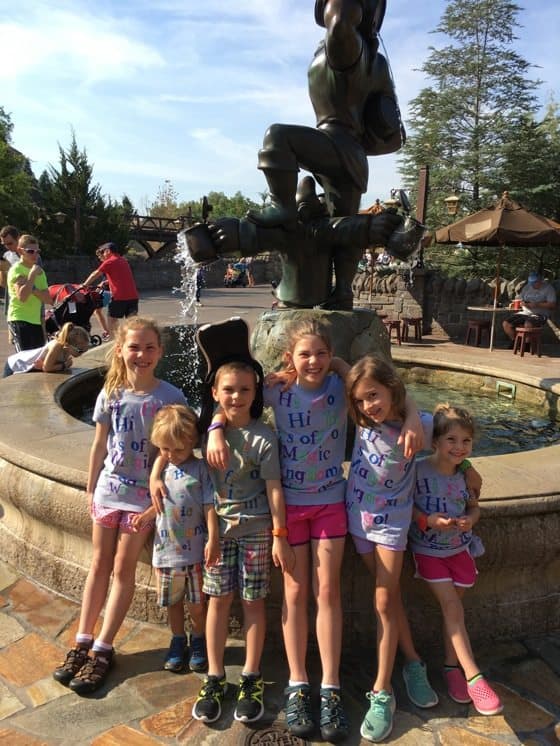
On the “Hi Ho Hi Ho” shirts, we gave each of the kids their very own Dwarf name and freehanded it on the back. This was my favorite part! Each name fit each of the kids so well.
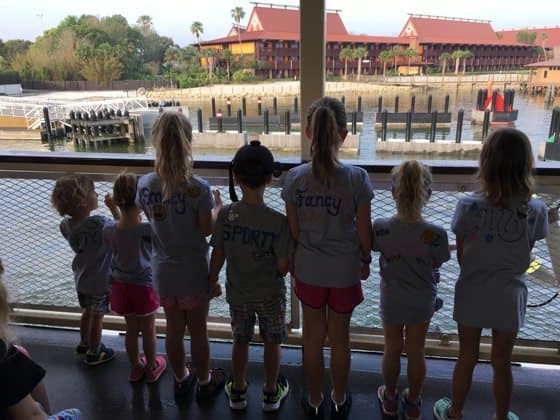
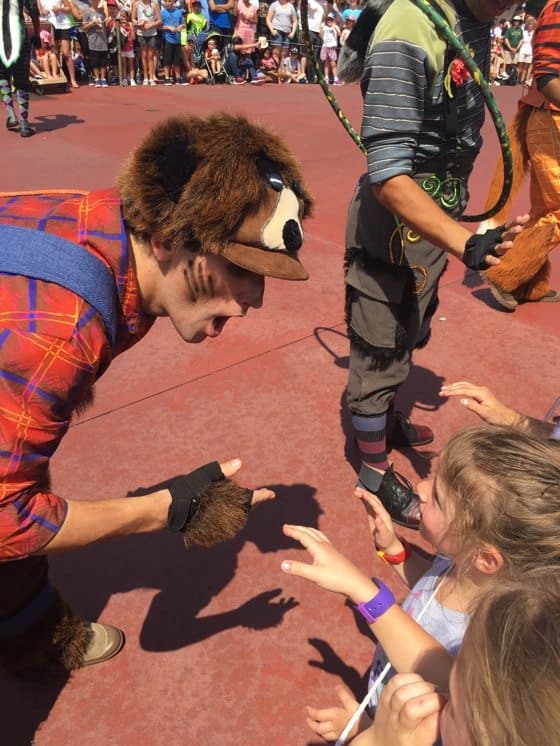
The shirts were a big hit at the parks! The kids wore the “Look out Disney” shirt to school the morning we left and to dinner at Chef Mickey’s. We wore the “Hi Ho” Shirts to Magic Kingdom and lined up along the Festival OF Fantasy parade route early enough to secure a spot up front.
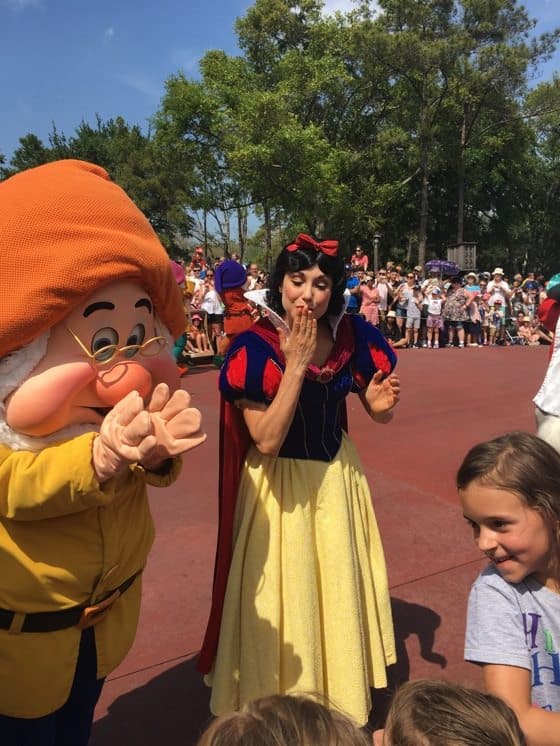
We had several characters come over to the kids; read their shirts, count out that there were seven and then, the kids would all turn around and show them their Dwarf name. It was a very Magical moment! When the Seven Dwarfs and Snow White came over, it was one of the coolest moments we have had at Disney.
Hakuna Matata:
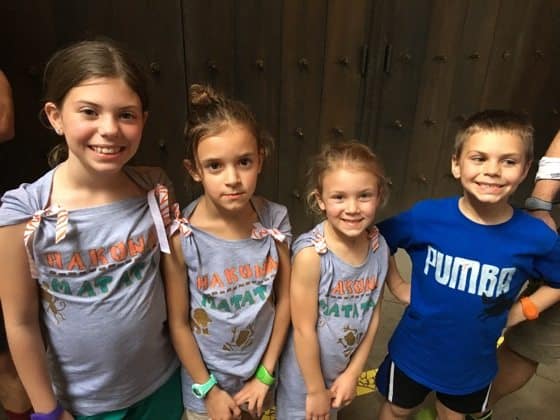
It means no worries! What’s better to wear to Animal Kingdom than a shirt to remind you to enjoy the day and have no worries. We made these safari colored shirts for the ladies to wear.
We used a stencil we had already used on the other shirts and for the border inbetween, we used another one of the designs that came in the Martha Stewart stencil. We also let the girls pick out their favorite animals from the animal stencils we had used in a previous project to decorate under the Hakuna Matata.
To create the animals and give a textered look, we filled in the stencils with the 3-D fabric paint in gold glitter. Also, knowing that Animal Kingdom is always a hotter park than the rest, I bought some orange zebra print ribbon and used it to tie up the sleeves of the shirts. Some of them prefered bows and others wanted the ribbon to drape down.
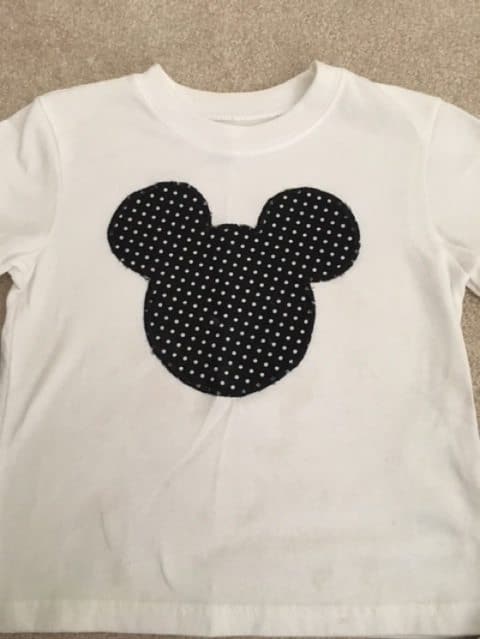
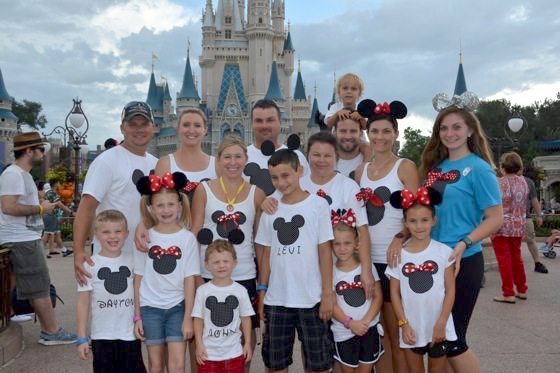
Mickey and Minnie heads:
Even though these shirts required some recruiting to get them finished, they were totally worth the work. We wore them on two different trips and I made them for my parents and younger brother and sister for another trip. We all received several compliments on them and people wanted to know where we got them. They showed up great in pictures and made locating large parties of 15 a lot more doable. Cast members loved how easy it made it for them to know where our party began and ended.
These shirts were the most labor intensive because they required sewing, something I had to recruit my Mom and sister for. I can work magic with stencil and paint, but I have not mastered sewing yet. Here is a list of materials for these shirts:
*material of choice for Mickey and Minnie heads
*Ribbon for bows, (thicker ribbon for adult shirts and thinner ribbon for
kids sizes)
* Needle and thread matching the bow color
* Sewing machine and thread matching the material for the heads
*Heat and Bond adhesive (sew kind)
* iron, ironing board and towel
* Mickey Head stencil in two sizes; one for adult shirts and one for kids
Instructions:
Here is the how to....... Start with your Mickey felt stencil and the fabric you have chosen. Cut out the fabric using the stencil by tracing the stencil on the back of the fabric. Cut the fabric out, place it on the heat and bond and cut out a piece to iron on, slighty smaller than your fabric piece. This will allow you to sew it on easier.
Now it is time to iron the fabric onto the heat and bond using the directions on the package. Once it is secured, it is time to sew it onto the shirt. If you want a Minnie head, add a bow using your ribbon and attach it to the shirt by hand sewing it.
There you go, several fun shirt ideas you can recreate for your next Disney vacation!
Stay up to date on all the newest Disney News!
Love the shirts and had fun making them????
They are so adorable!
So cute and such a great variety love the hi ho ones!
Thank you Heather for your feedback! Remember to save the post to your Pinterest boards for future reference.